Black as the devil, hot as hell, pure as an angel, sweet as love.
- Charles Maurice de Talleyrand
The fresh smell of coffee soon wafted through the apartment, the smell that separates night from day.
- Haruki Murakami
Without my morning coffee I'm just like a dried up piece of roast goat.
- Johann Sebastian Bach
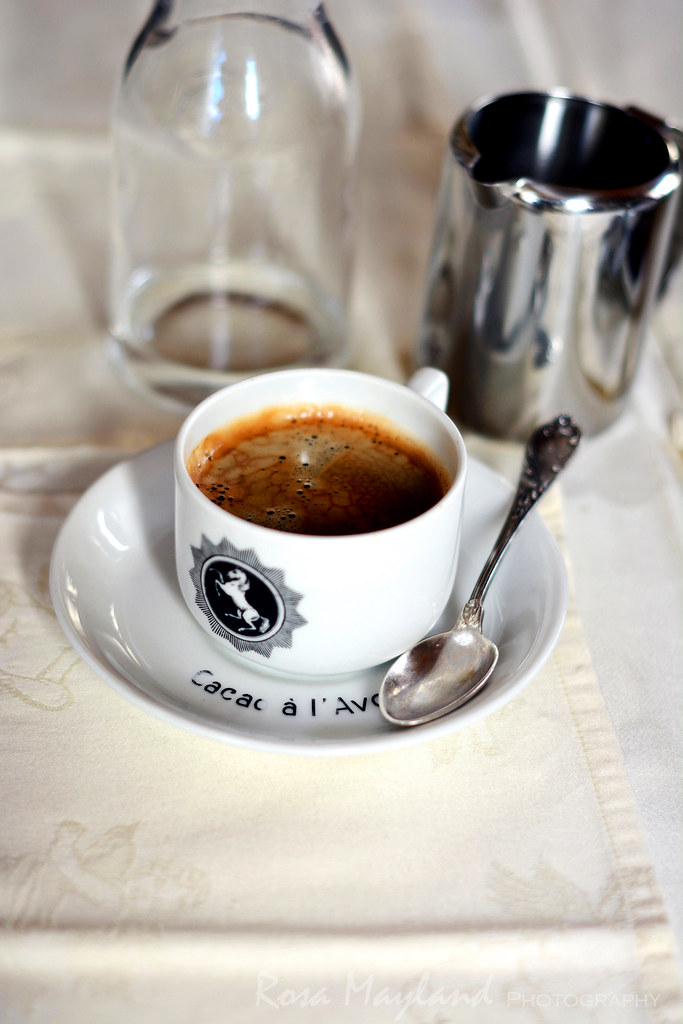
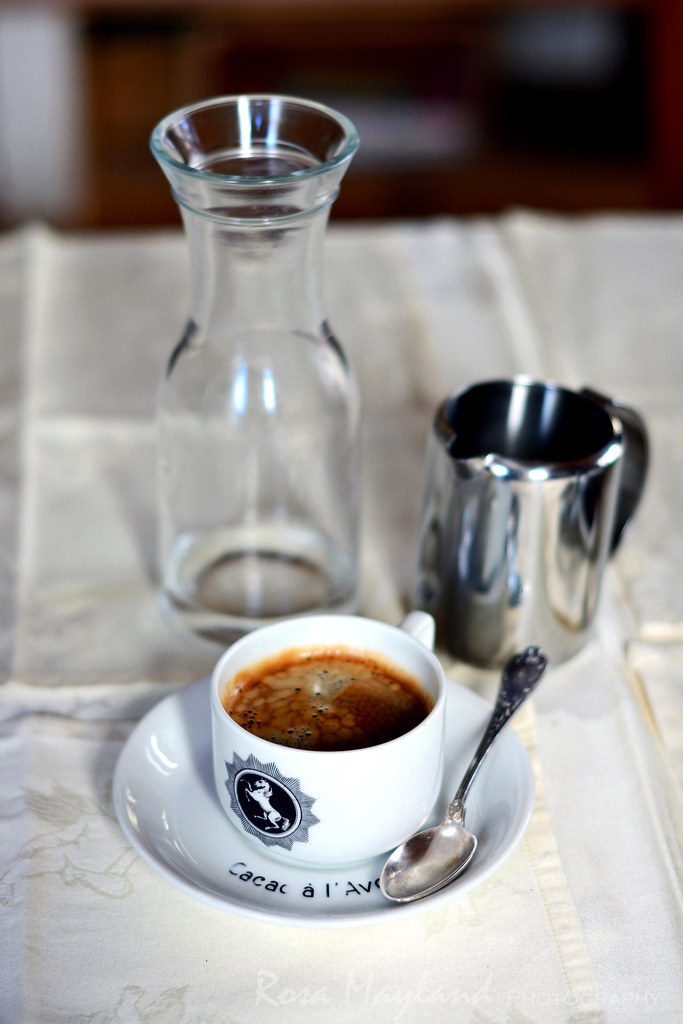
Coffee, a marvelously fragrant, suavely bitter, darkly intense and dreamily frothy brew that has the power to instantly uplift your mood and make you see things from a different perspective. A devilishly magical potion that immediately confers happiness, helps us wake up from the deepest of slumbers and stay active all day long. A social and ritualistic drink that brings people together around a table, seals friendships and creates warm memories. A romantic beverage that inflames baristas and java aficionados from all the corners of the world. A unique decoction from Ethiopia without which we pathetic humans cannot survive. An elusive glimpse at paradise. A confidant and a muse. A delight to the senses. A crutch on which to rely. Cement that keeps our lives together. An euphoric stimulant. High octane. Fuel for the body. Muddy water. An ink black drug for the soul. Nectar of the gods; sacred, bewitching, psychedelic, ethereal and therapeutic. Pure gold.
Enthrallingly powerful like God, yet sinfully sweet as the Devil himself. Both a poison and a medicine. Pleasure and pain. Heaven and hell contained in a simple vessel of porcelain.
We all know how it went when Europe changed from a culture addicted to depressants to one high on stimulants [...] Within two hundred years of Europe's first cup, famine and the plague were historical footnotes. Governments became more democratic, slavery vanished, and the standards of living and literacy went through the roof. War became less frequent and more horrible.
- Stewart Lee Allen
No one can understand the truth until he drinks of coffee's frothy goodness.
- Sheik Abd-al-Kadir
What would our mornings be like if we couldn't rely on a strong cup of joe? Would we be able to get rid of our head fog and start work normally? Would we still be enchanted at the prospect of "going out for a coffee" if we would be deprived of our espressos, lattes or cappuccinos? How would we feel if meals ended with an uninspiring glass of orange juice or water? Would we enjoy Tiramisù or moka cake as much if they were deprived of their star ingredient? Probably not!
Coffee rules our existence. Whether we want it or not, it is omnipresent in daily life (at home, at the office, at the restaurant, on the train, etc...) and is part of our culture (most countries nowadays have a deeply rooted relationship with it). We are addicted to this precious liquid and there's no way of escaping its seductive grip or subjugating call.
So why fight back? Sooner or later, you will give in and capitulate to the Grandmaster of cosmic foam and diabolical murkiness. Resistance is futile and you know it.
____________________________________
Today my humble blog turns 10. Yes, you read it correctly. Ten!!!
It really feels surreal to think that I first hit the publish button a decade ago, when I was considerably younger (in my late twenties), naiver and the whole blogging universe was a great deal more laid-back, uncomplicated and friendlier than nowadays.*
Anyway, I can't believe that I have made it so far, even if this activity has cost me a lot of blood, sweat and tears! It would be a lie if I told you that I hadn't had restless nights because of my blog and that Rosa's Yummy Yums has only made me happy. All the contrary. There were/are times when it seems that all my efforts are in vain and I want to throw it all away, and hide in a corner and cry. But thanks to my readership whose faithful and encouraging support means the world to me, and despite my meltdowns, ups and downs and vacillating commitment, I have persevered. Every follower's kind word, sincere compliment and visit gives me the energy to continue putting one foot in front of the other and makes me want to try to push beyond my boundaries.
Each little encouragement fuels my hope and prevents me from capitulating, so I wish to thank you all for being around, regularly checking on my posts and always finding the right way to motivate me. I owe it all to you!
* Money, stardom, superficiality and over-sized egos had not yet corrupted the small community of enthusiasts that we were and transformed that seemingly simple milieu into an absolute jungle... I'm not saying it is all bad, but a bit of the authenticity and honesty of the blogosphere has died the day foodism became hugely (and unreasonably, might I add - in 2015 it appears that everybody's a gourmet) fashionable and big corporations have discovered that they could benefit from bloggers (we all know how profit and trends can kill things).


